
Studios
-

Studio 1 — 7.1 Theatrical Mixing Stage
-

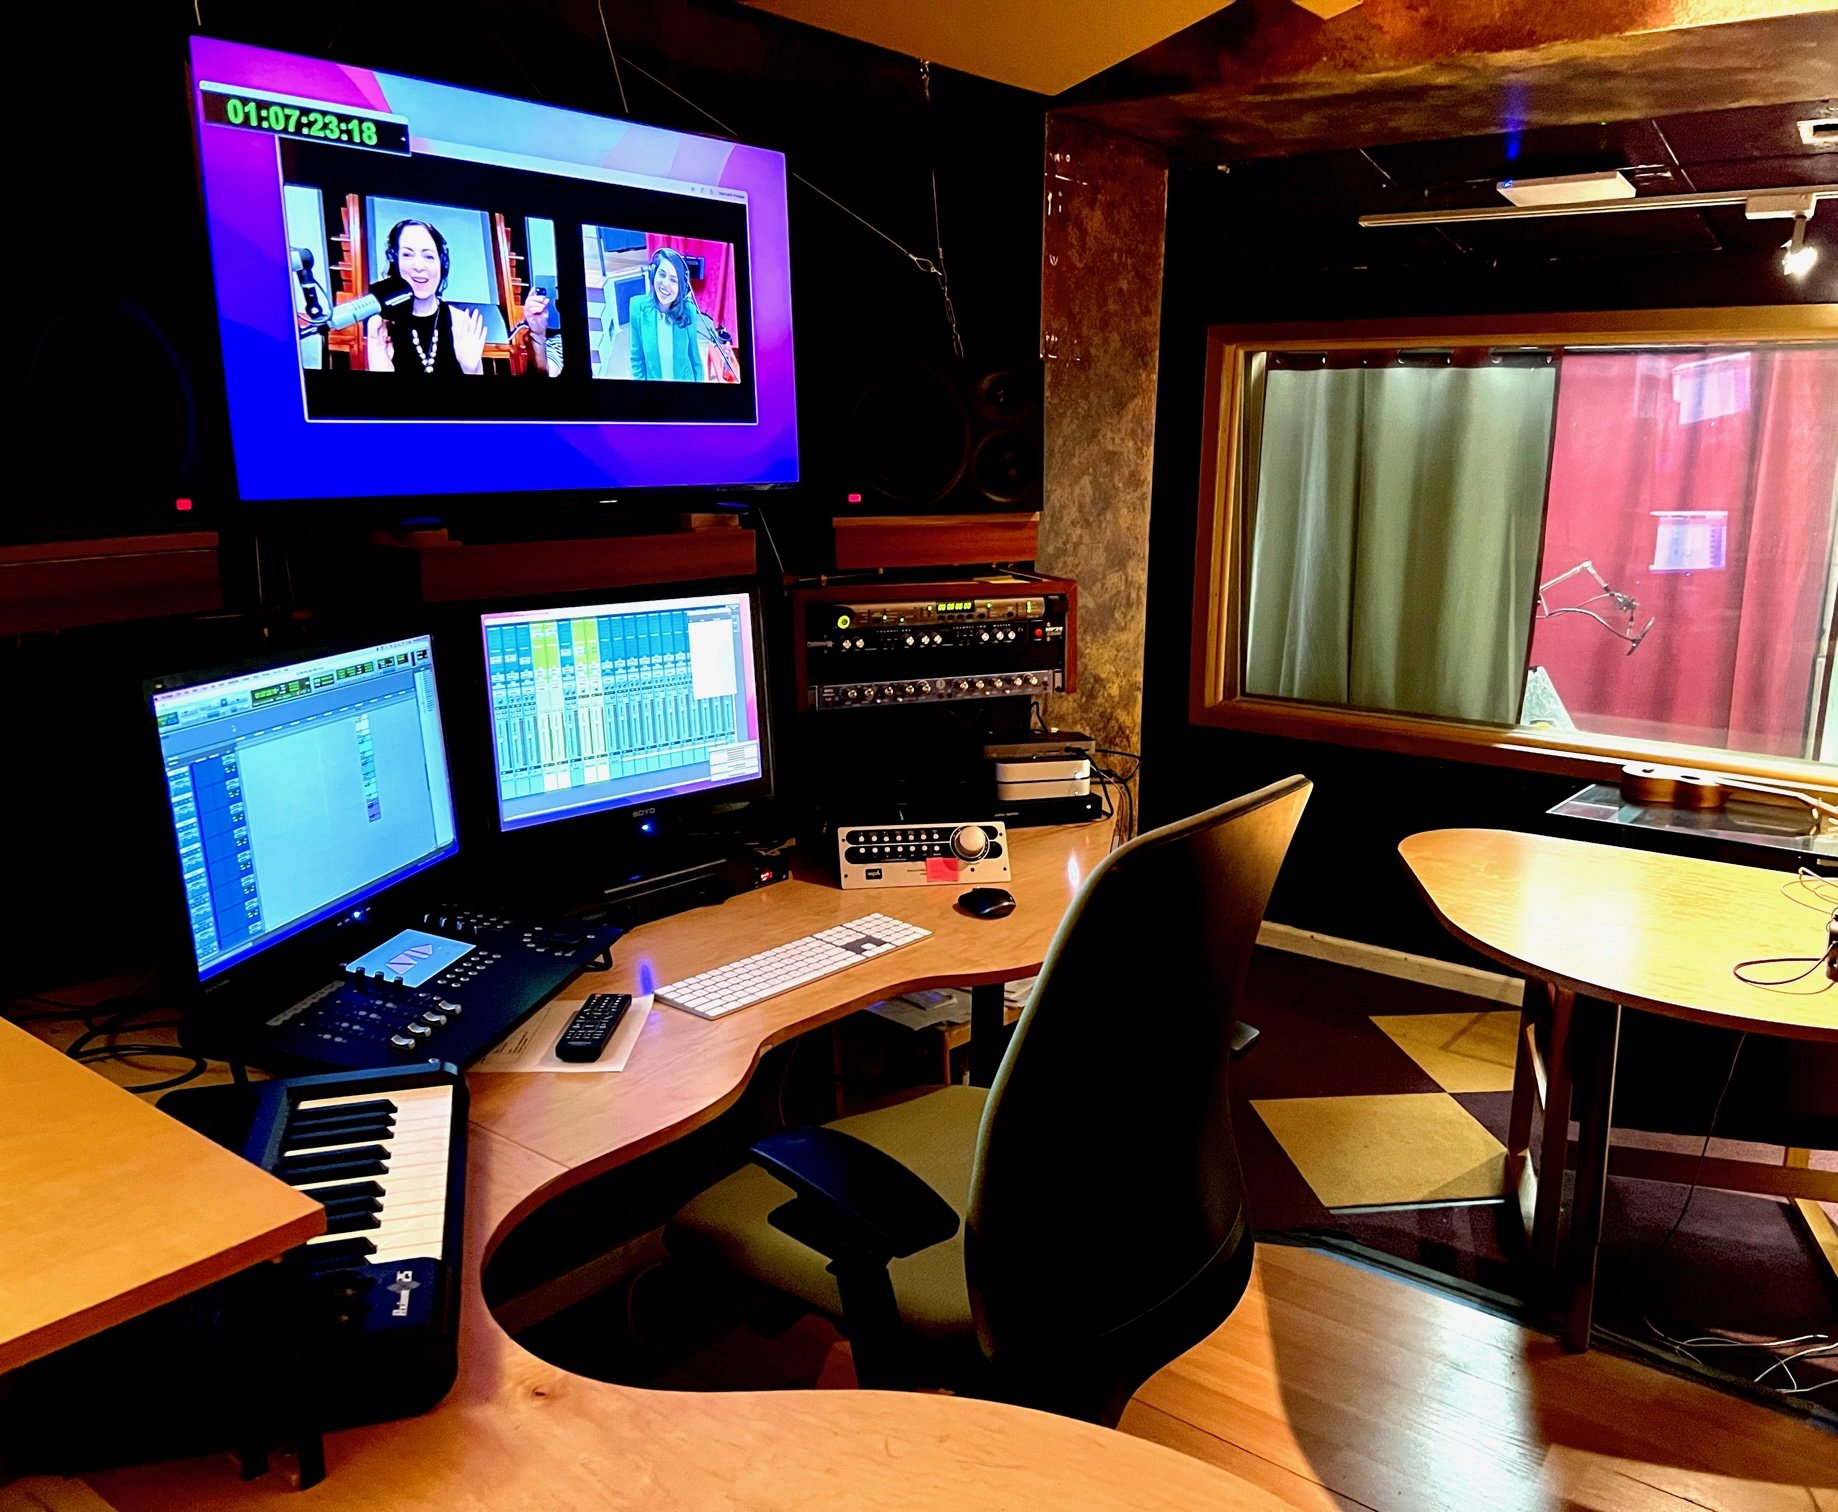
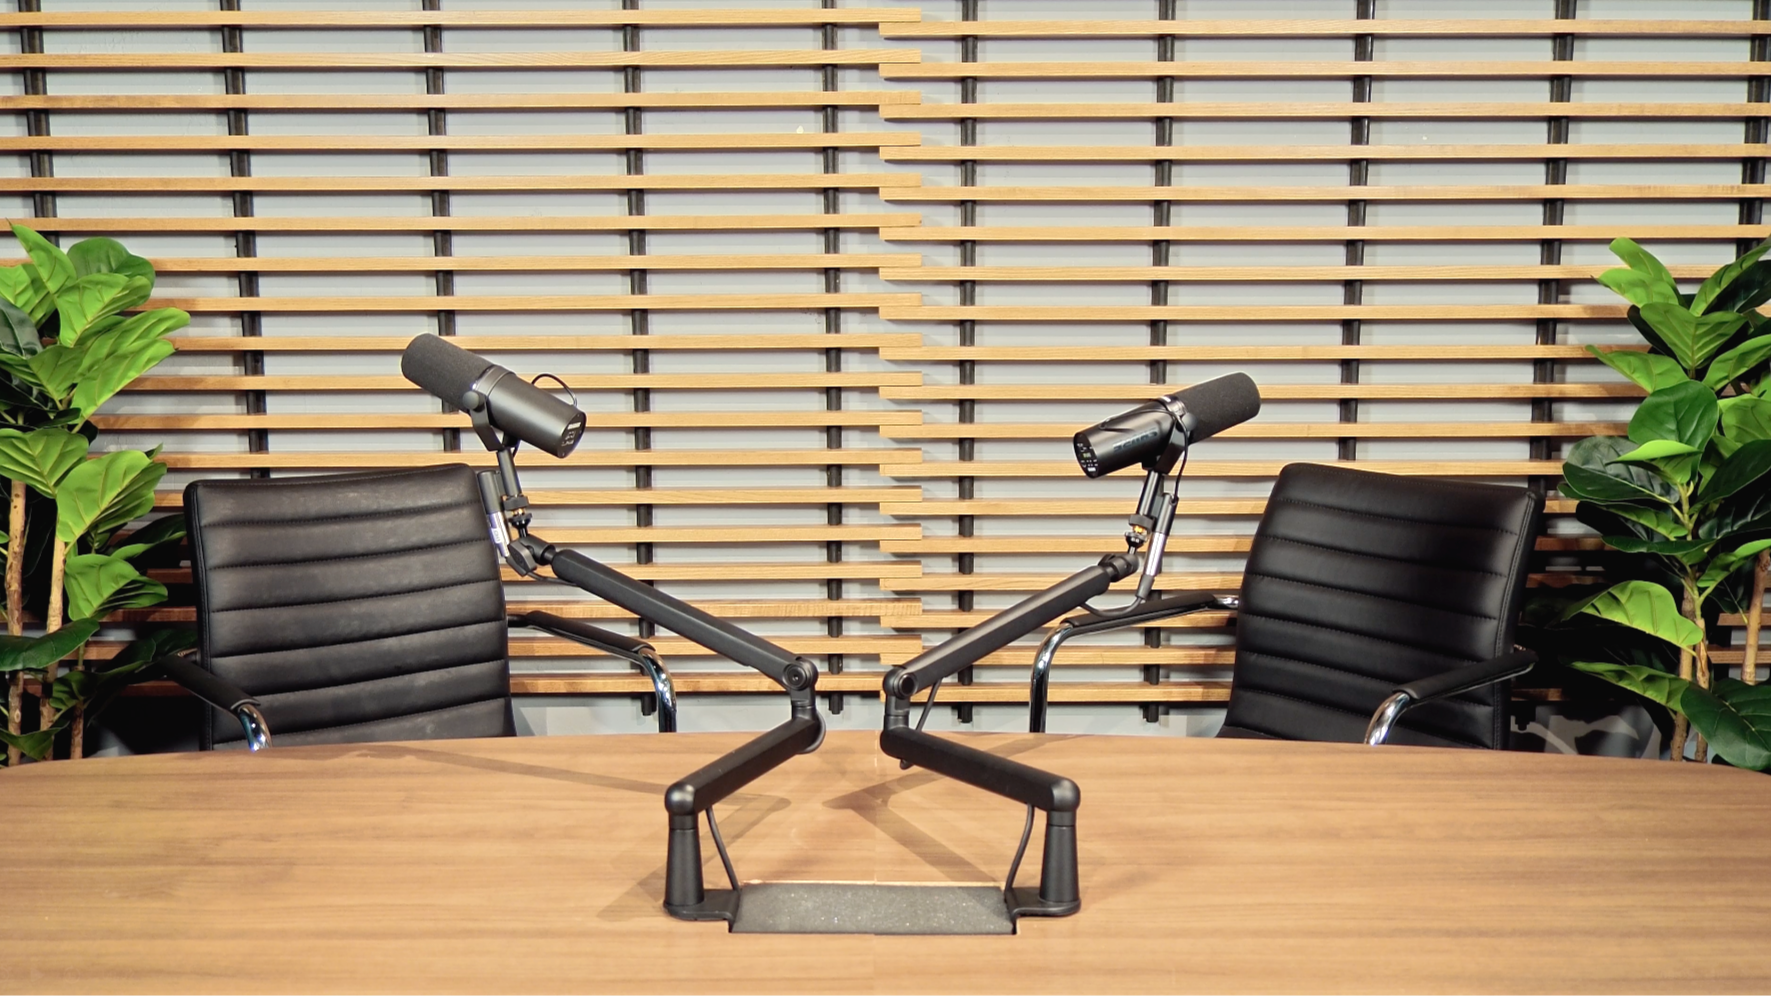
Studio 2 — Podcast Stage & Edit Suite
-

Studio 3 — 5.1 Editing & Voice Over Suite
-
Studio 4 —ADR & Foley Stage
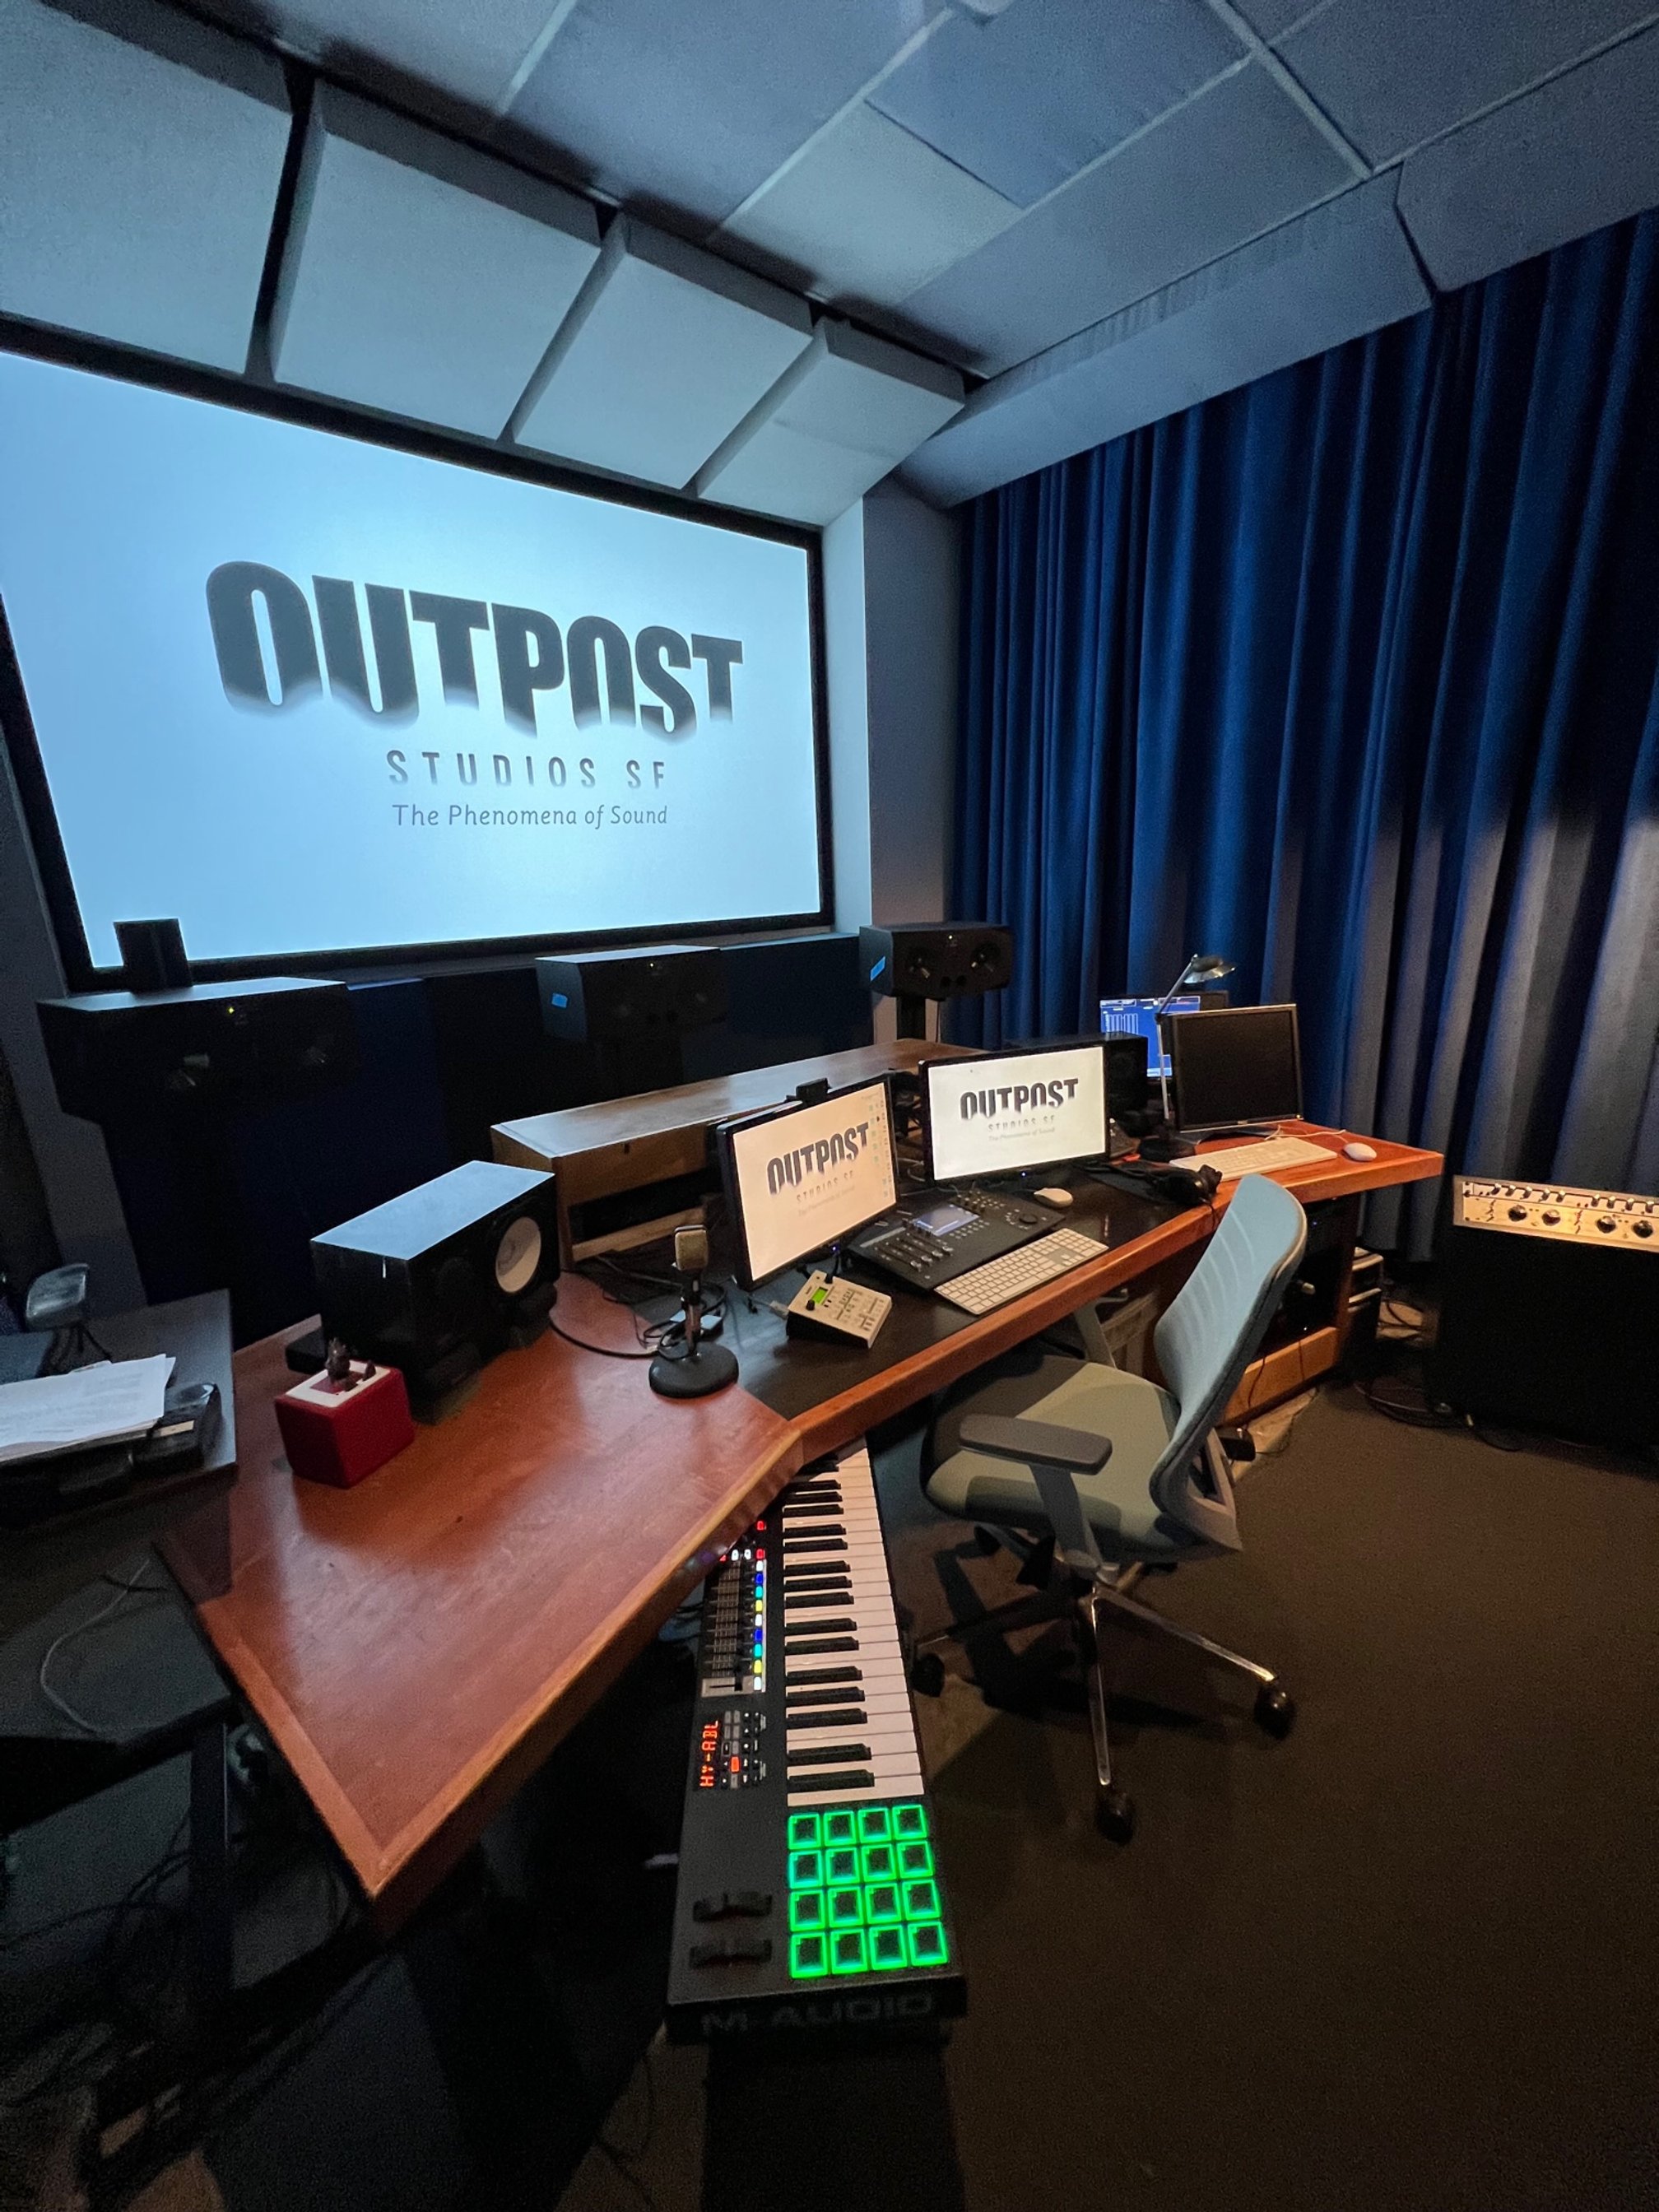
Studio 1 - Mix Room
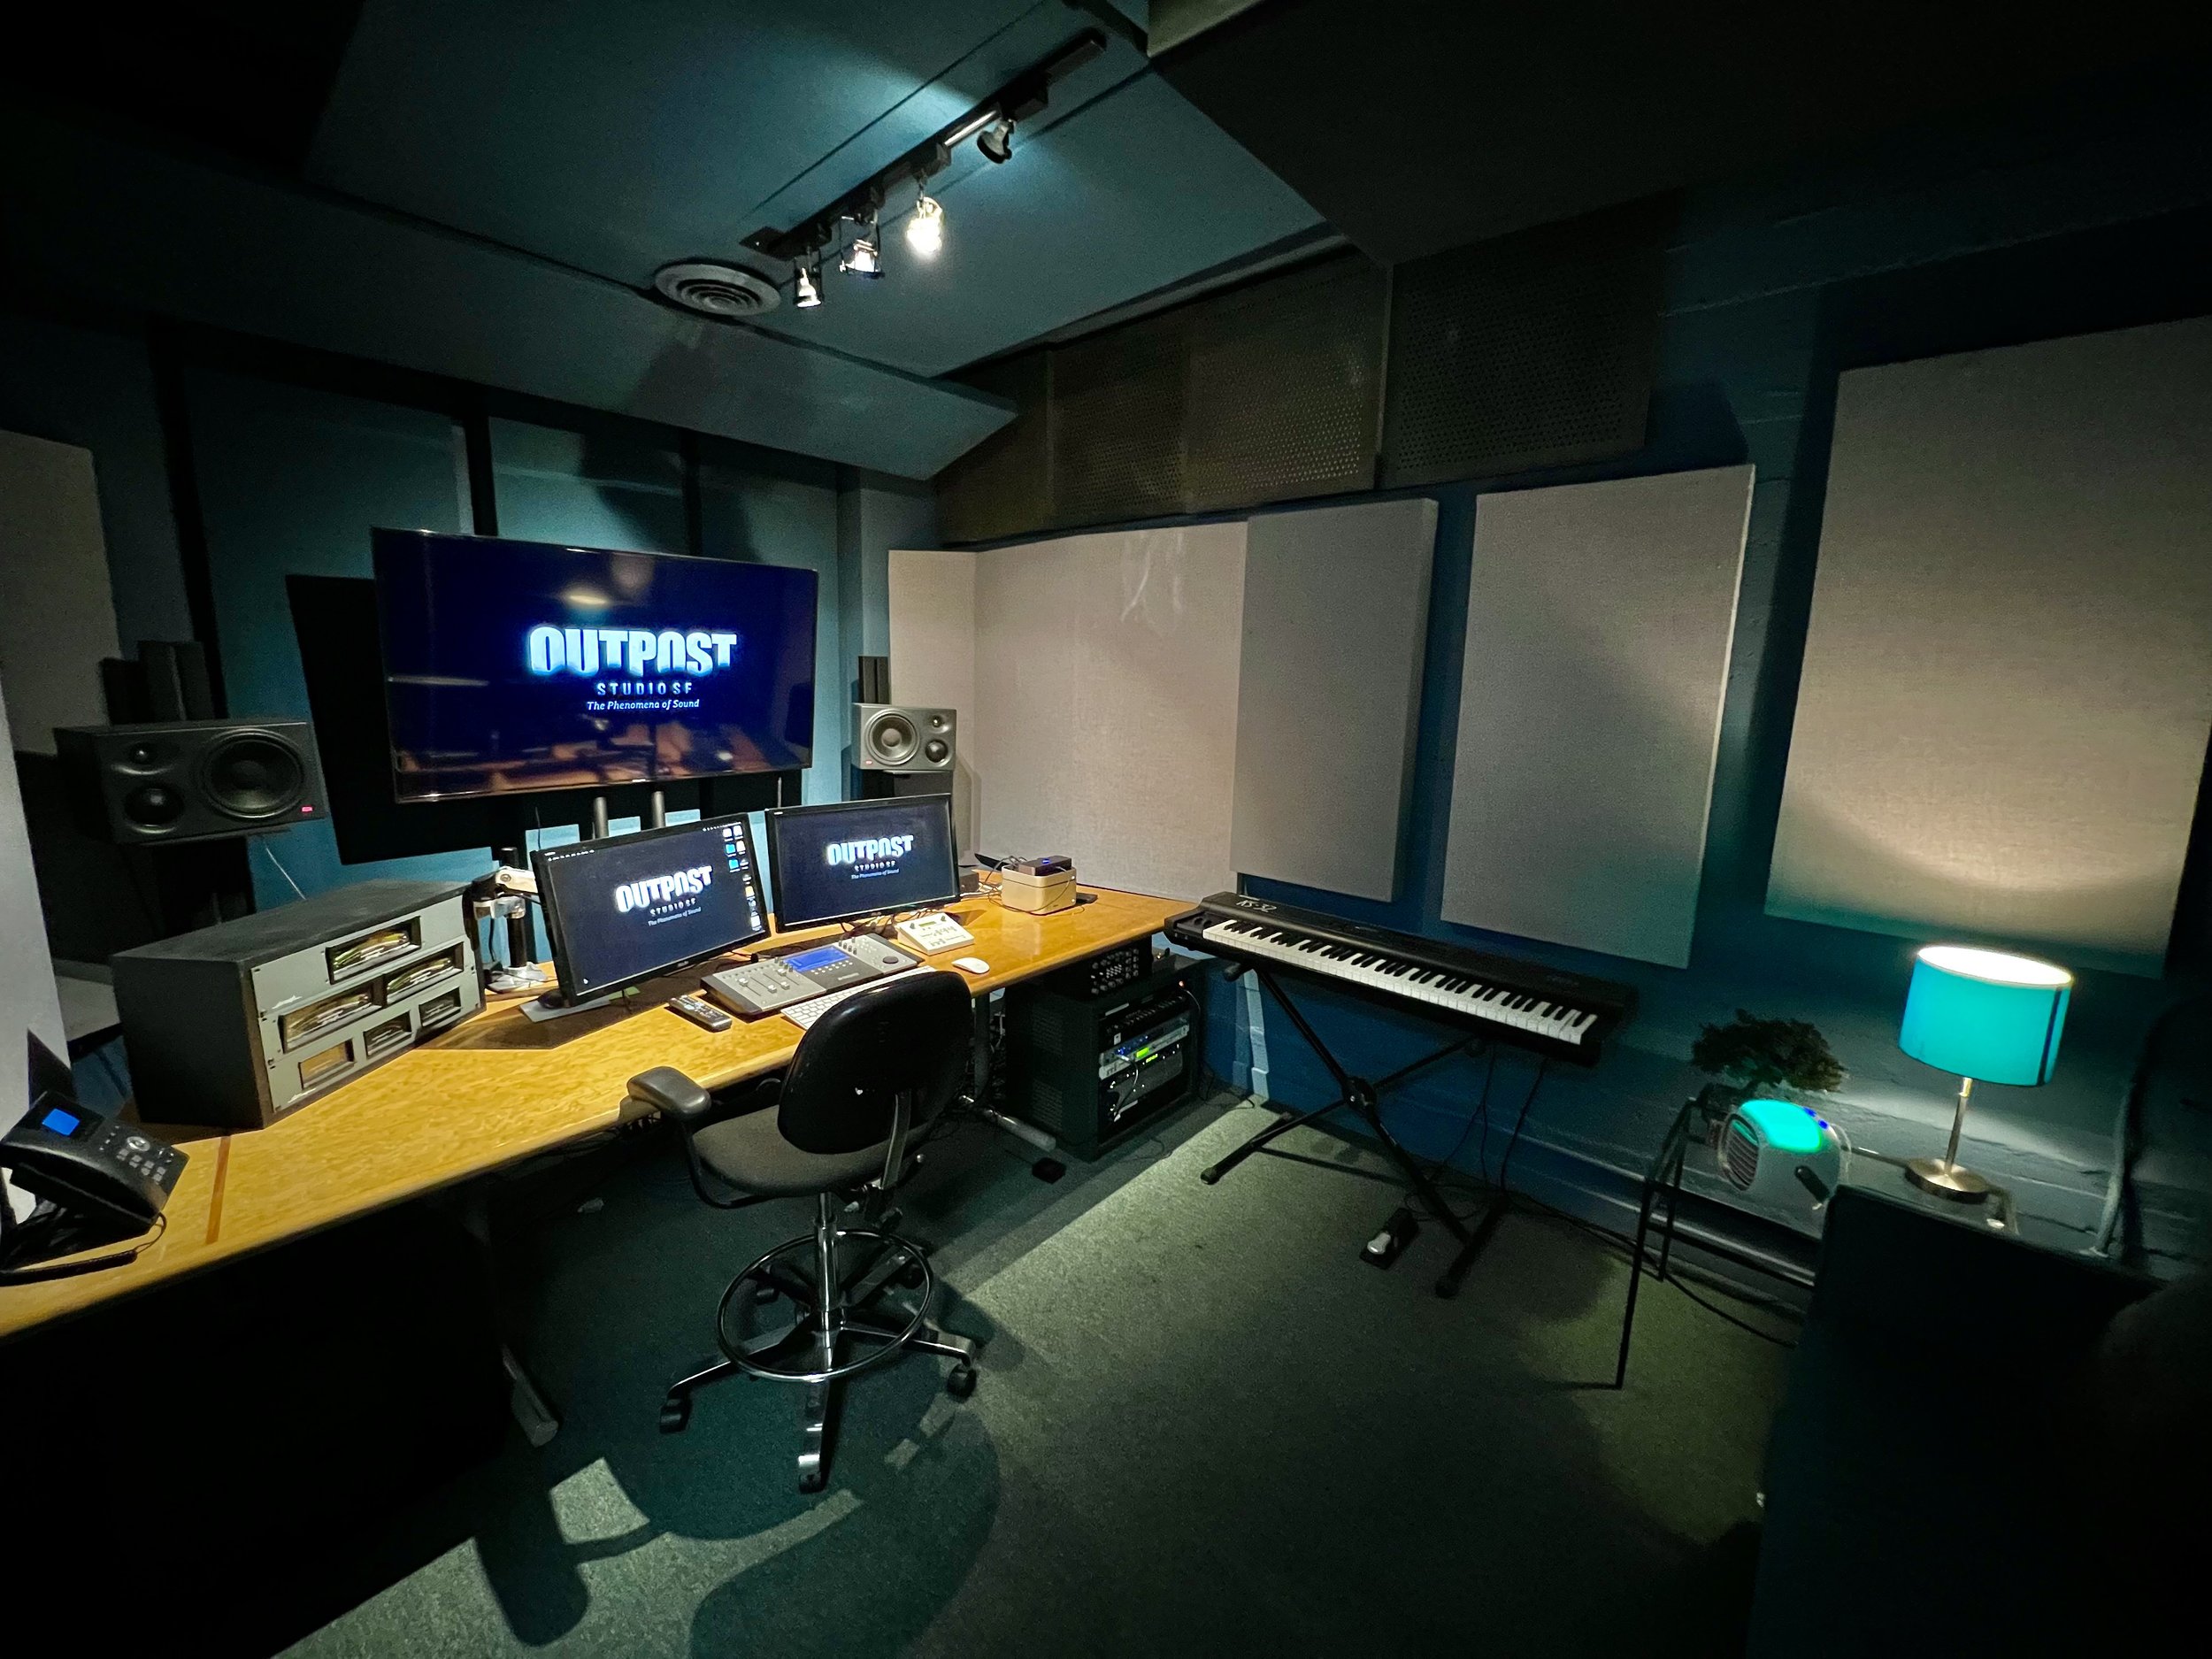
Studio 3 - Mix Room
Studio 3 - Podcasts

Studio 3 - Live Room
Studio 4 - Mix Room

Studio 4 - Live Room
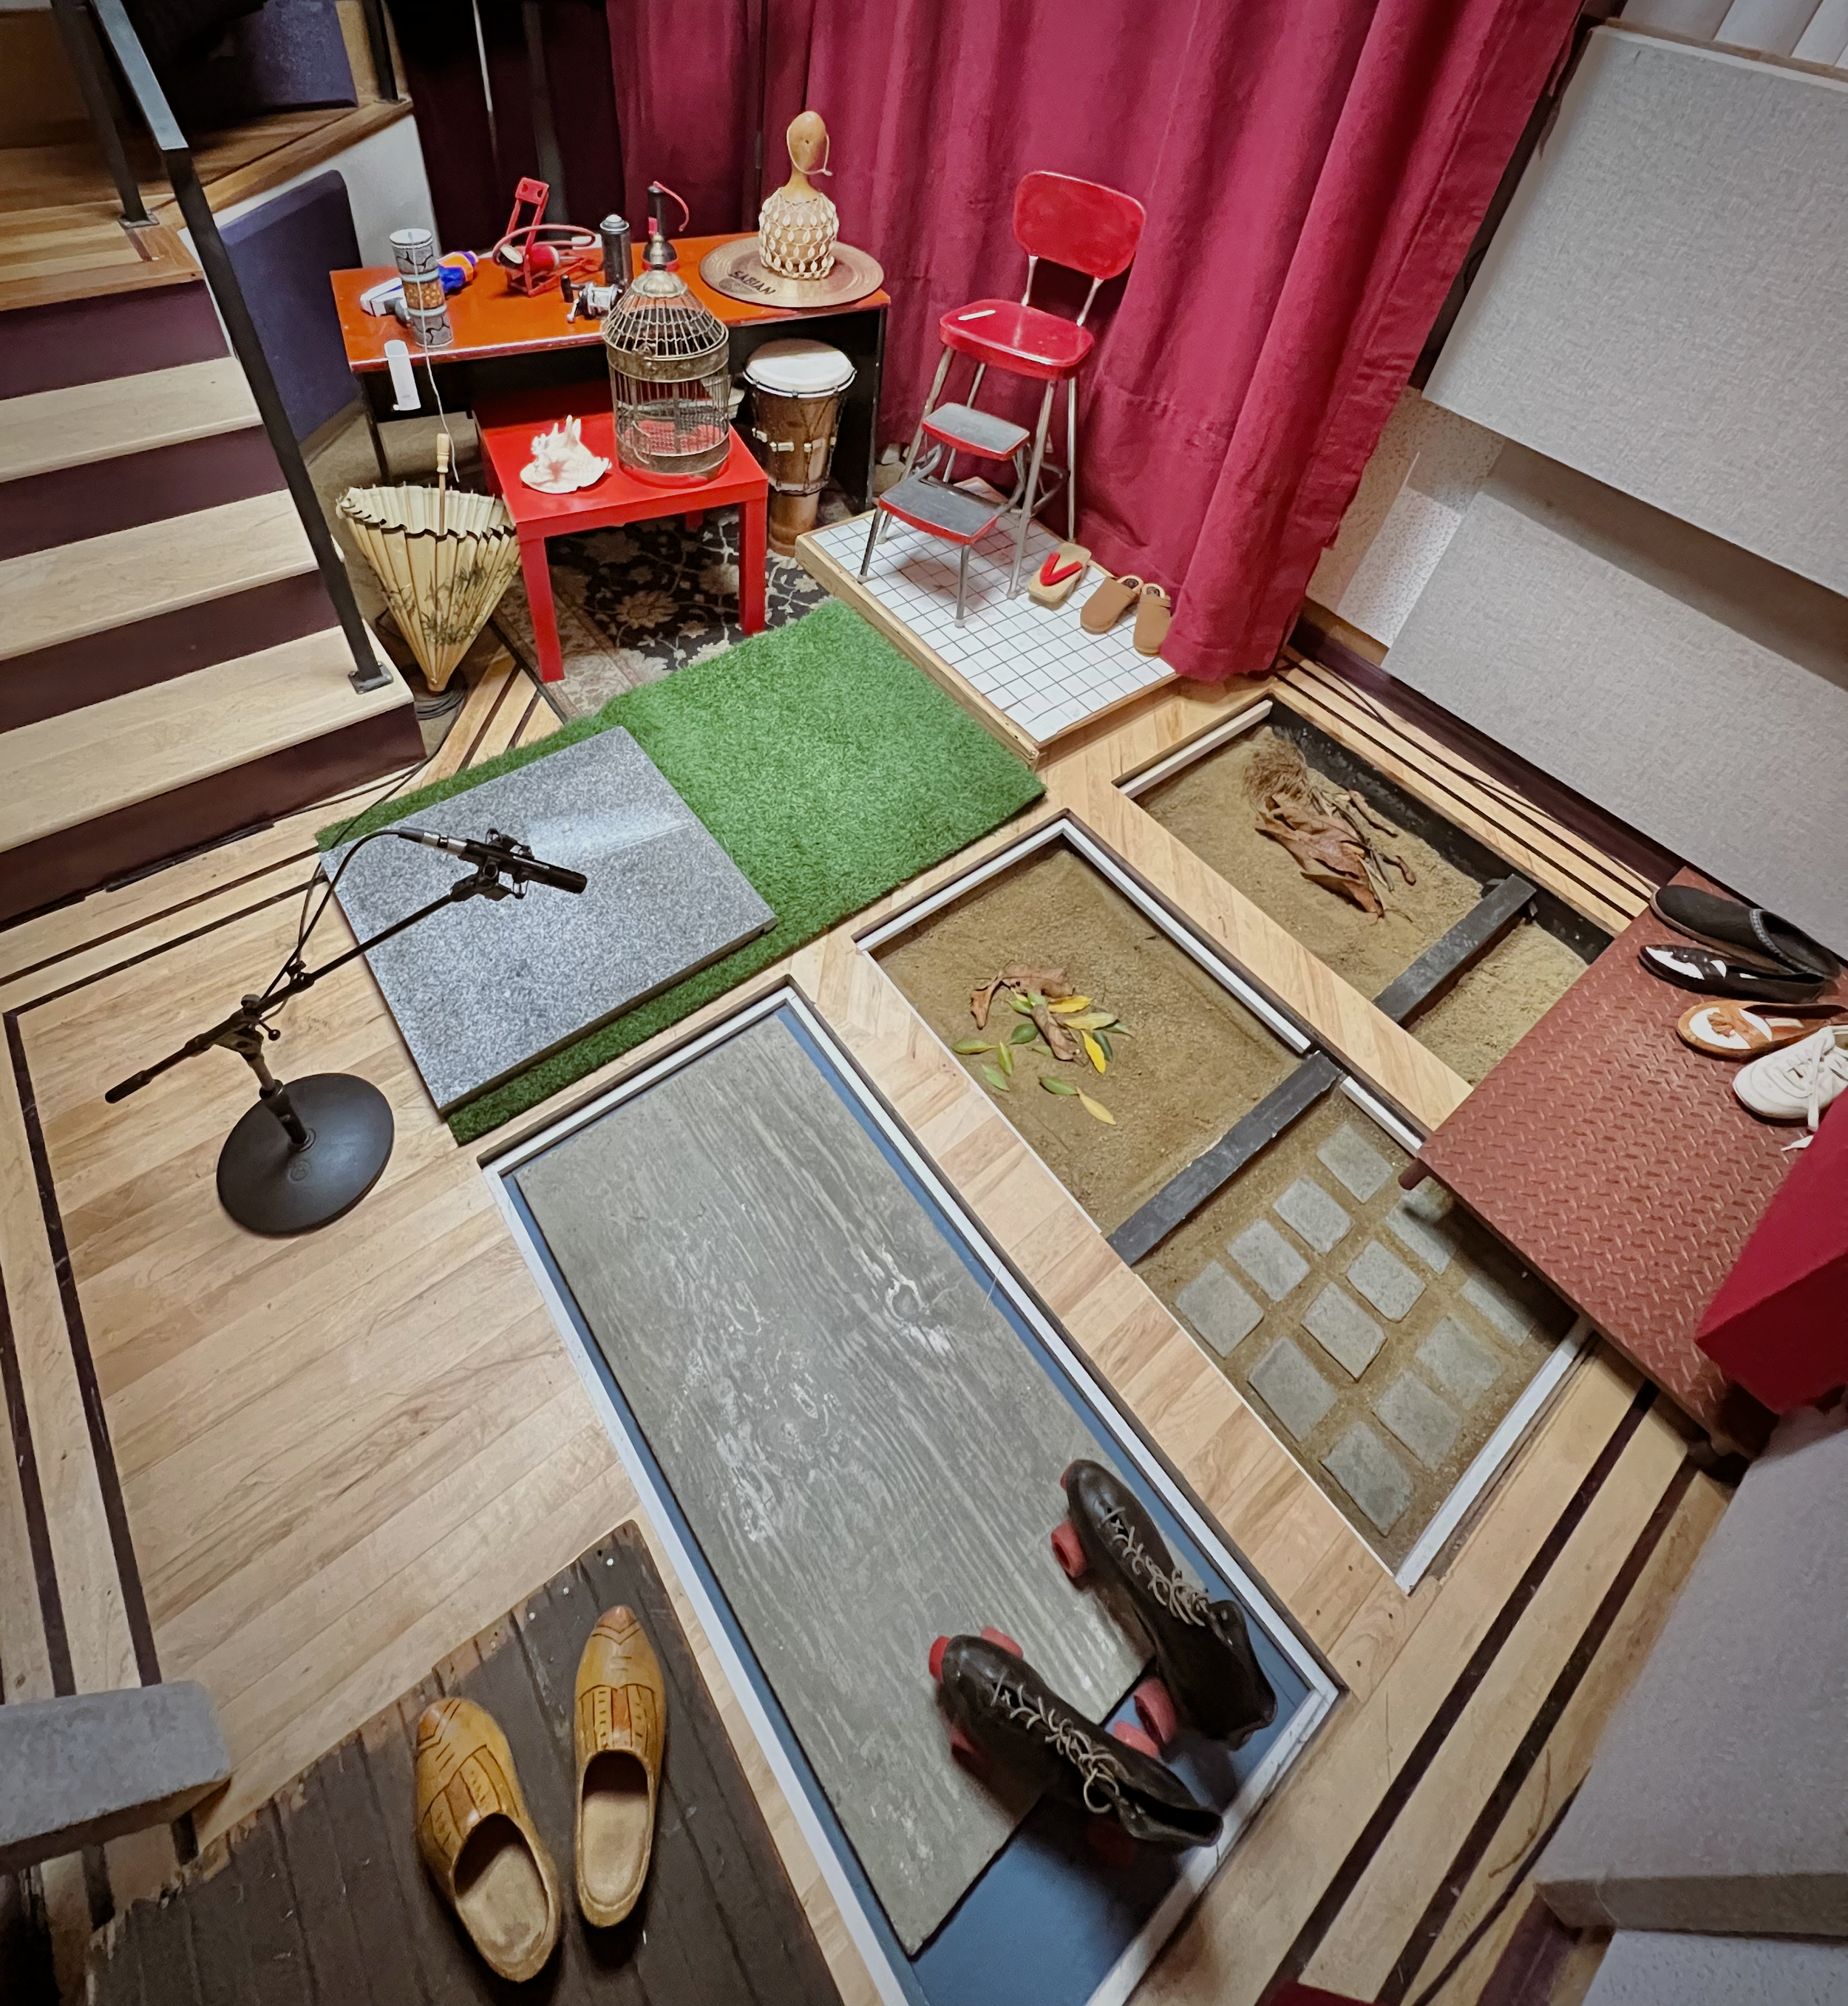
Studio 4 - Foley Stage

Lounge
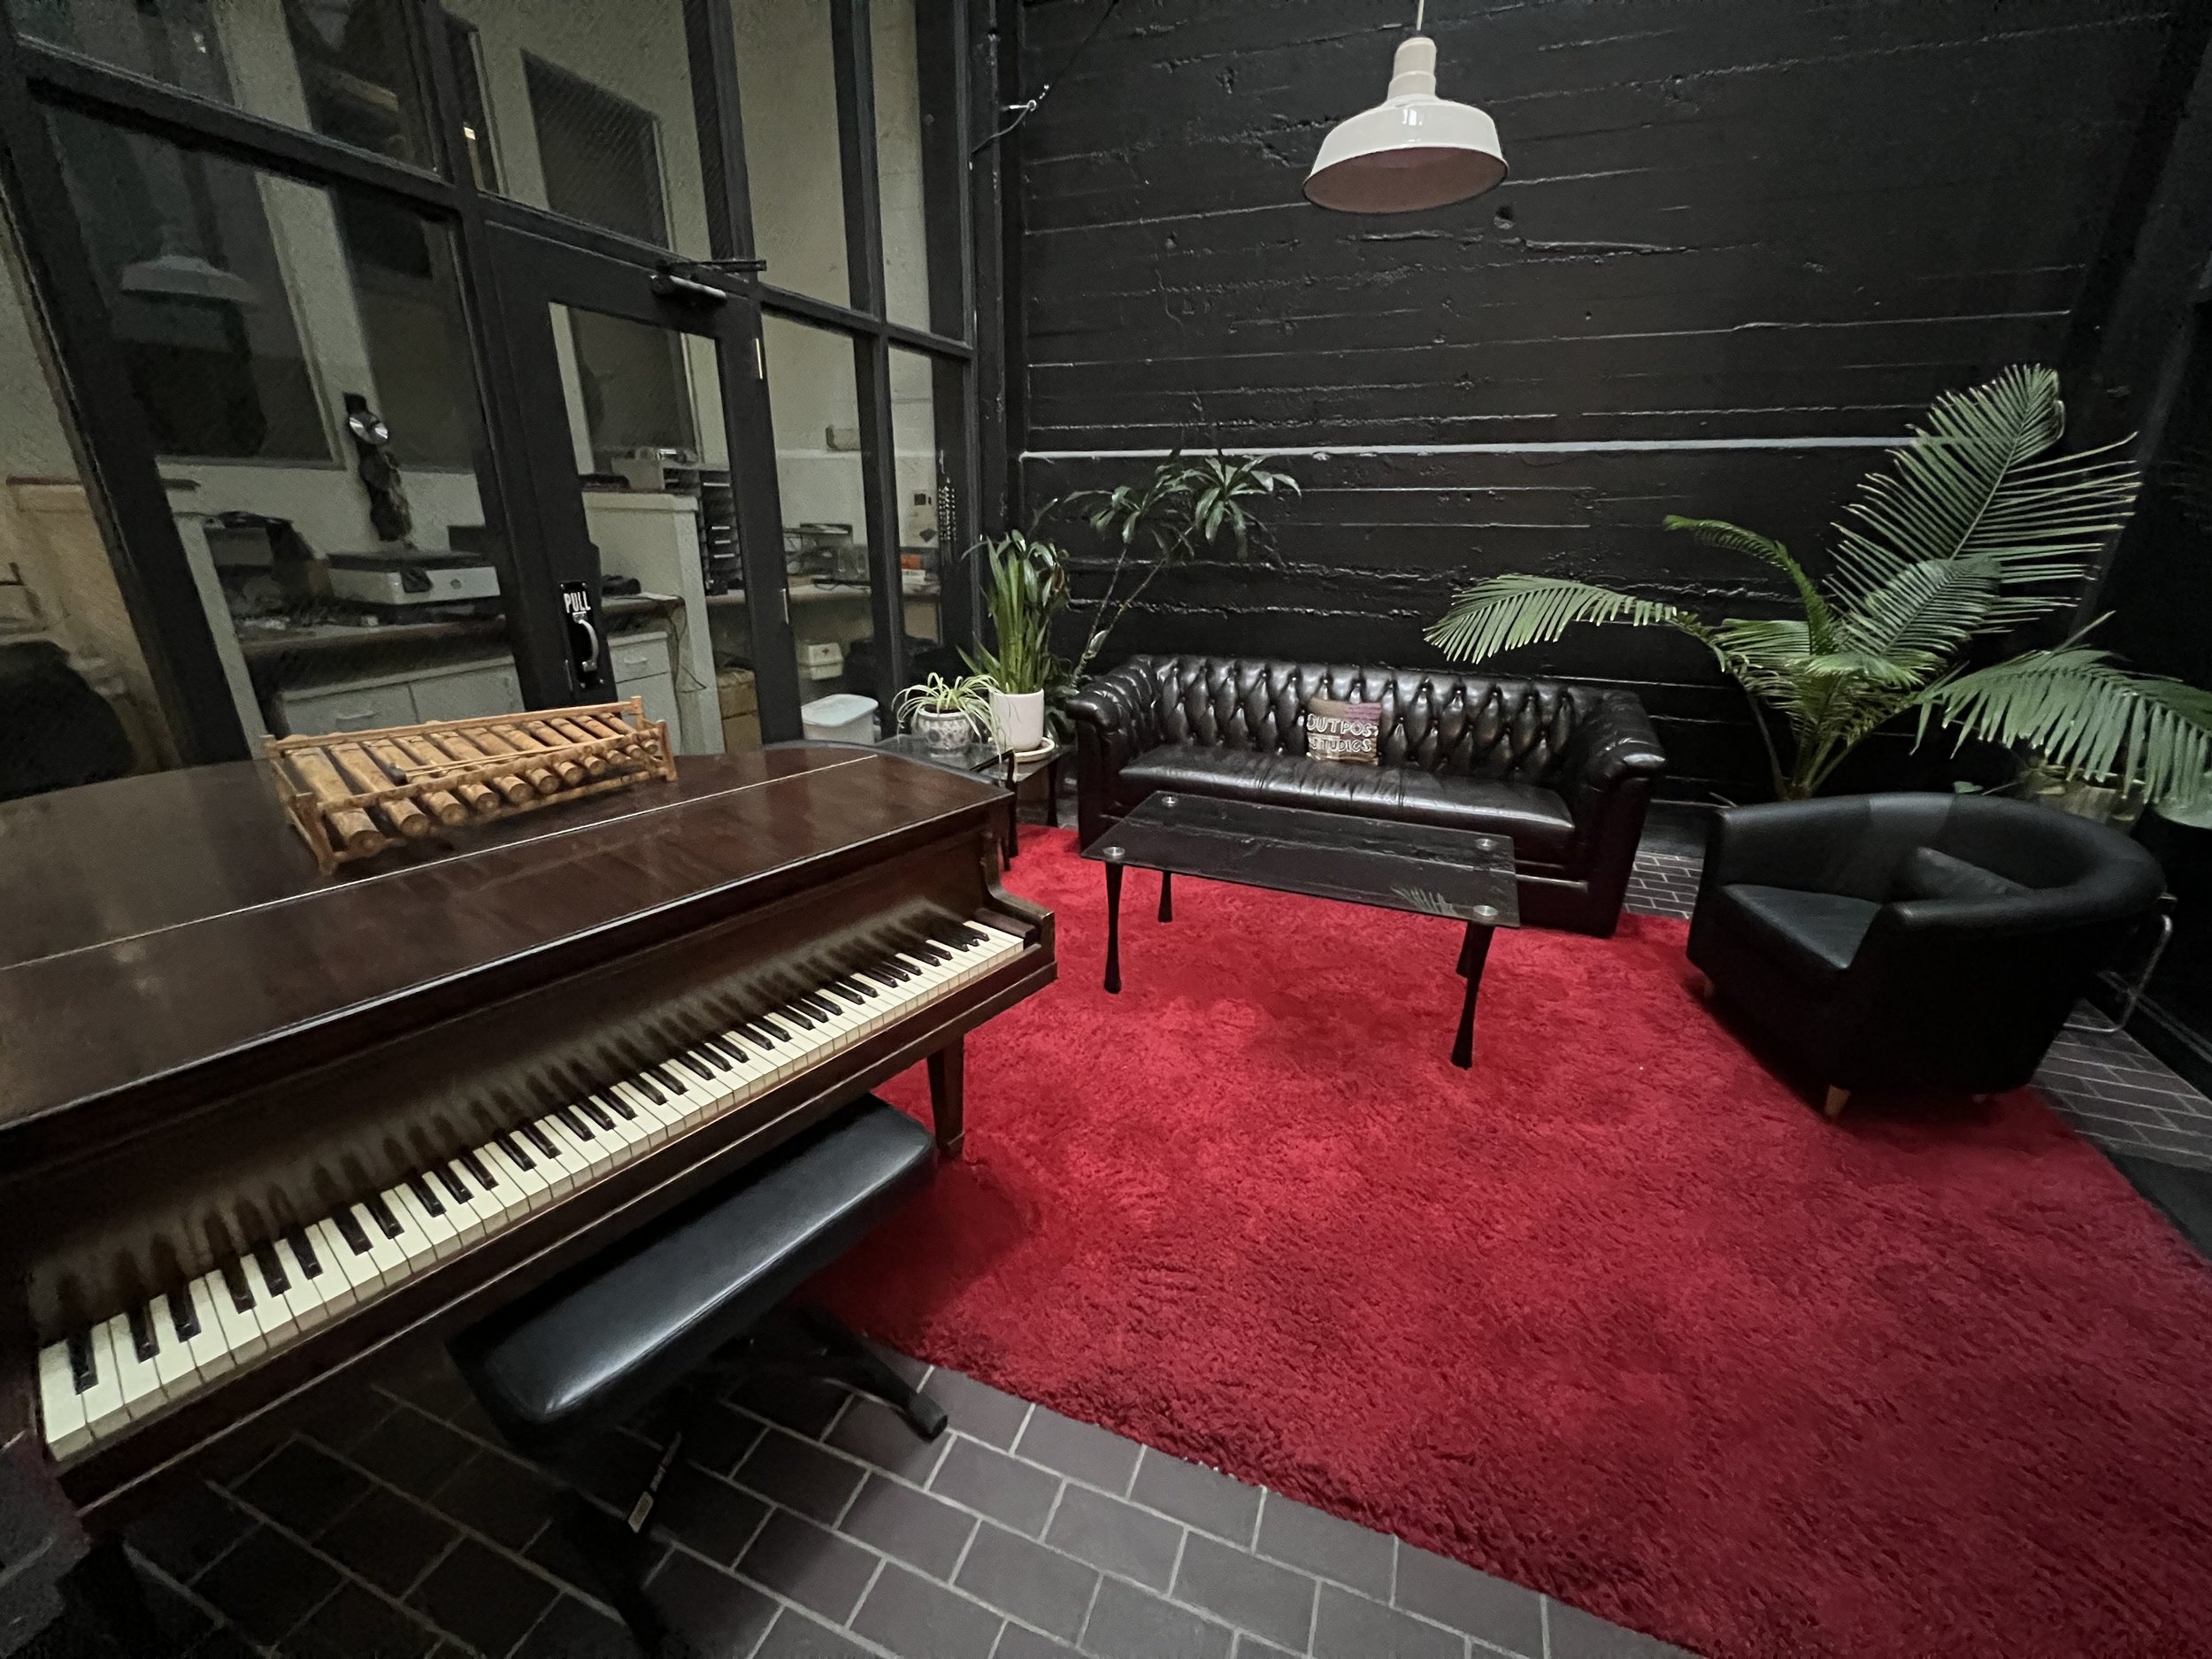
Lounge and Atrium


